What is FMAudit?
As part of Enabl’s managed print solution, we’ve automated the manual process of having to order toners and send meter reads monthly for billing through FMAudit.
FMAudit monitors your printer’s toner levels and print volume, storing this data in a secure cloud portal. Devices that have FMAudit installed will automatically notify us once your toner reaches 25% remaining. Once notified, we’ll organise a replacement toner to be shipped directly to site, ensuring you never run out of toner.
Installing FMAudit is easy to do so and should only take 15 mins by following the steps below in this document to install FMAudit.
If you have any questions, please feel free to contact us on 1300 477 037 or email us at suppot@enabl.work.
FMAudit Login Details
To login to FMAudit, navigate to: https://fmaudit.enabl.work/Account
Your username and password will be provided by Enabl's support team. If you need to be set up with a login, please contact Enabl Support.
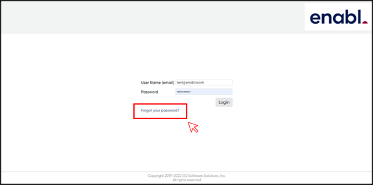
- Enter your email address as your “User Name”.
- Enter your password or click “Forgot your password” if you can’t remember it.
- You will be emailed a new temporary password that will allow you to login and create a new password.
- Note: if nothing is sent to you check your junk mail to reset password
How to Install FMAudit
1. Once logged in, select “Account” from the top menu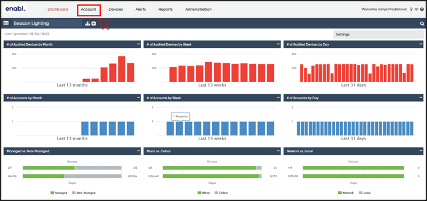
3. The below “Download ECI DCA for [Account Name]” will pop up You have two option: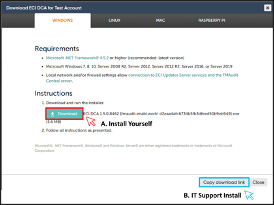
- Continue from step 4 below.
- Select “Copy Download Link” and send to IT Support to install
- IT Support to continue from step 4 below.
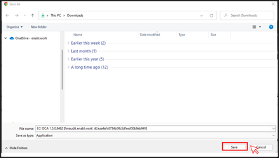
5. Open the folder that contains the Downloaded Installer file and select to “Run the File”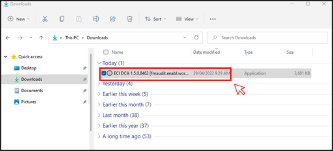
6. The wizard will launch. Follow the Prompts to install. Select “Next" at each step to proceed.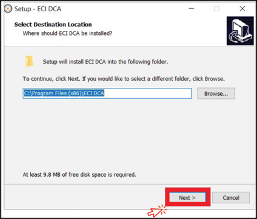
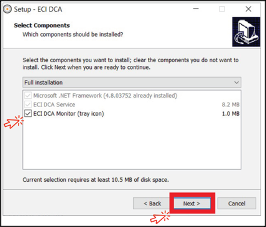
7. When at the "Select Components" section, Select all the options before navigating “Next”
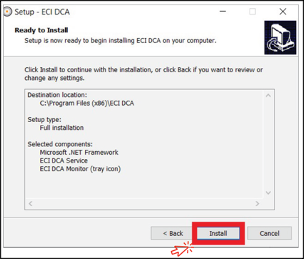
9. This will run the installation. Once this has finalised, you'll see a confirmation screen. Click “Finish” to exit the wizard.
